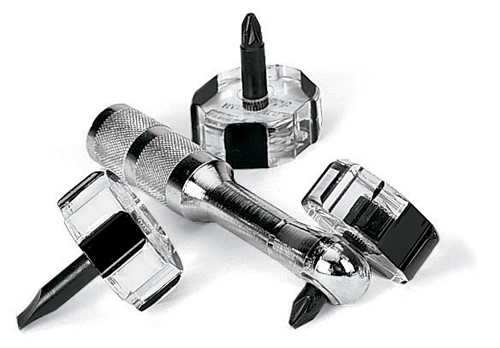
I bought this rivet removal tool a while back but hadn't used it much.
I decided to give it a good test while re skinning some flaps.
I like it!
It does take a little getting used to but can remove #3's in 3-5 seconds each.


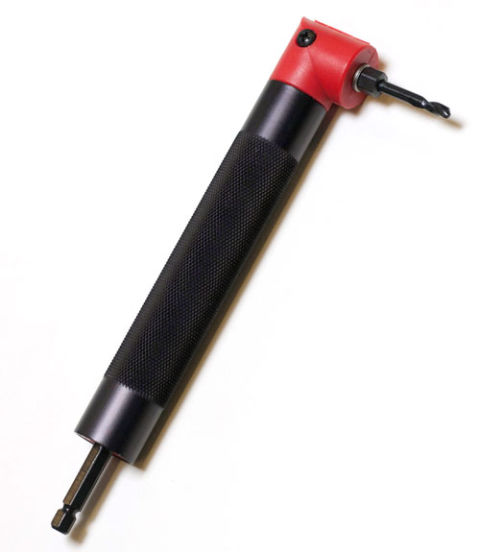


EZFlap wrote:There is one axis of rotational movement (the little threaded drill bit axis), and one additional axis (the electric drill power axis).
Zzz wrote:EZFlap wrote:There is one axis of rotational movement (the little threaded drill bit axis), and one additional axis (the electric drill power axis).
Yeah, like any metal cutting operation, there's some assumption that one is not totally retarded and understands the forces at work. My 18V Makita won't exactly break my arm like my 120V Milwaukee hole shooter will. I've used this in scenarios where the chuck just won't fit, but the drill motor is in free space.
It's valuable to see others' fuckups documented though to avoid learning the hard way.

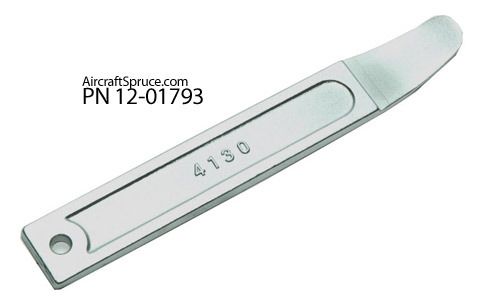
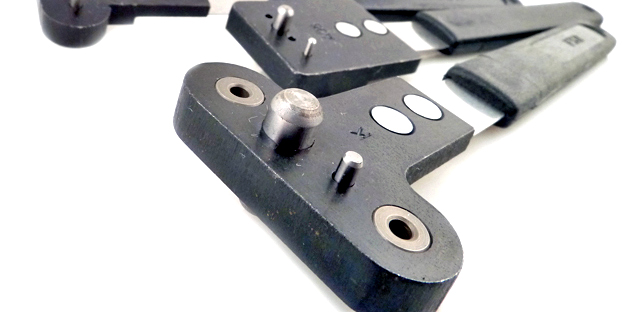
blackrock wrote:Here is one of my favorite. If you are installing a lot of nut plates, this will quickly become your best friend! It drills and countersinks both rivet holes at the same time. You just need to have the center hole drilled to size first. A huge time saver.
Tom wrote:blackrock wrote:Here is one of my favorite. If you are installing a lot of nut plates, this will quickly become your best friend! It drills and countersinks both rivet holes at the same time. You just need to have the center hole drilled to size first. A huge time saver.
Sweet, but what's it cost

blackrock wrote:Tom wrote:blackrock wrote:Here is one of my favorite. If you are installing a lot of nut plates, this will quickly become your best friend! It drills and countersinks both rivet holes at the same time. You just need to have the center hole drilled to size first. A huge time saver.
Sweet, but what's it cost
They come up on eBay occasionally. Usually in the $150 range, used. There are different sizes so be sure to get the right size.


Users browsing this forum: No registered users and 25 guests