Backcountry Pilot • My 185 Project

My 185 Project

Technical and practical discussion about specific aircraft types such as Cessna 180, Maule M7, et al. Please read and search carefully before posting, as many popular topics have already been discussed.
23 postsPage 1 of 21, 2

My 185 Project

Well with all the inspiration from bigrenna, aktahoe, and others I decided to get off my butt and start on my interior.

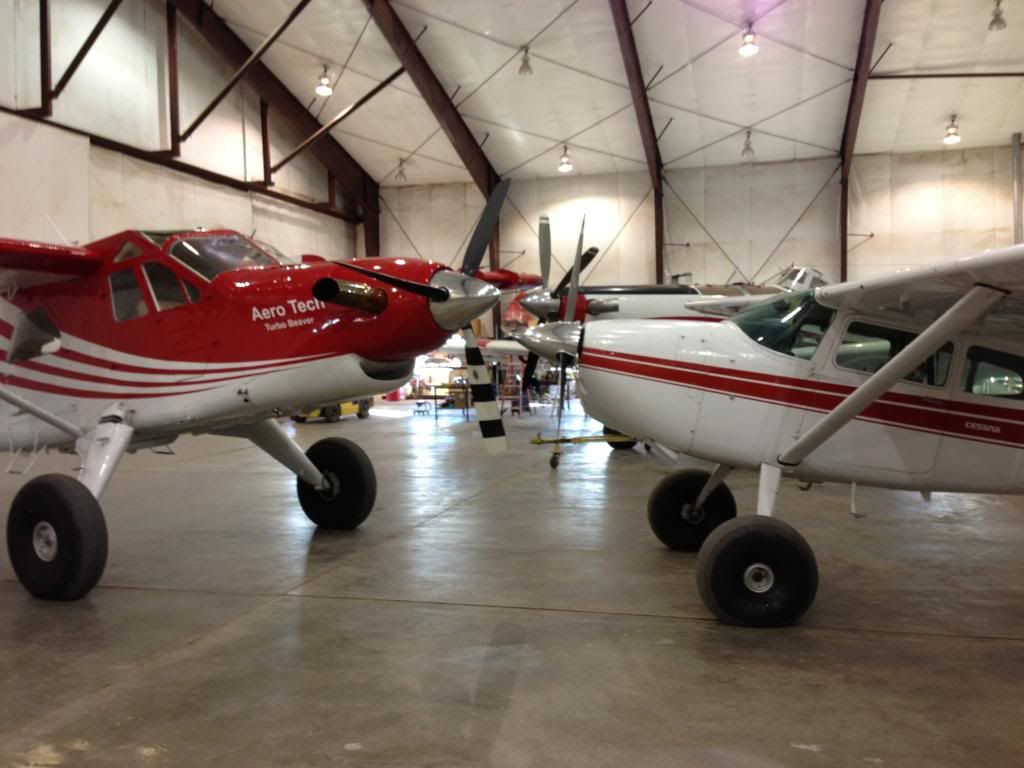
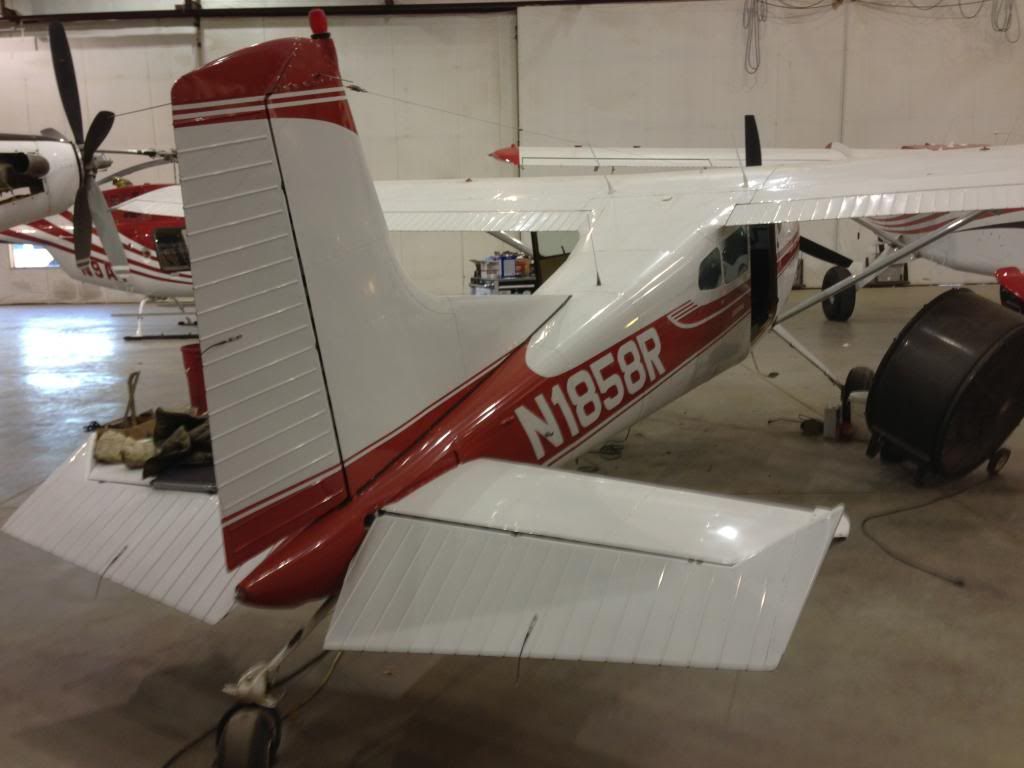
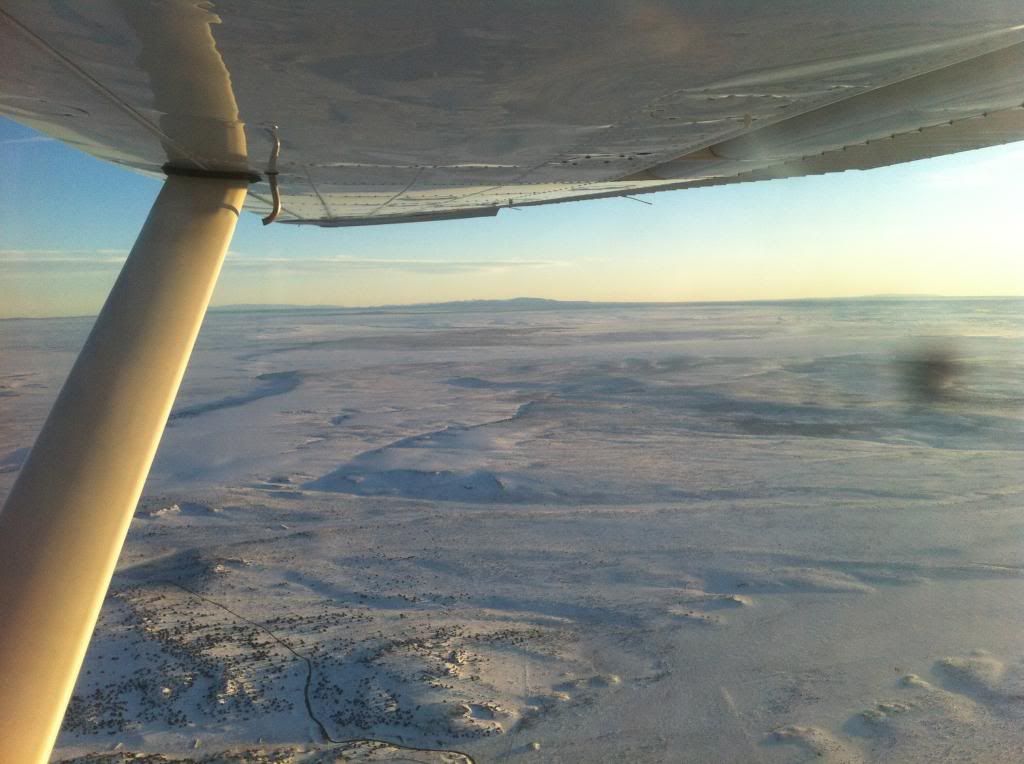
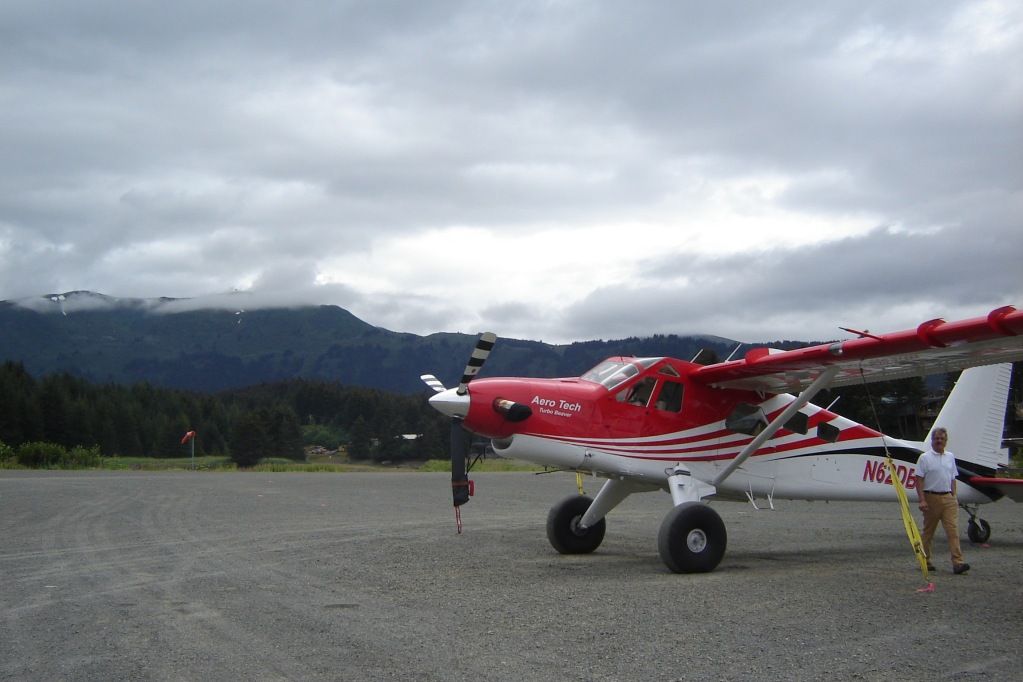
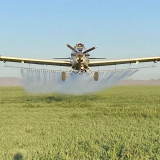
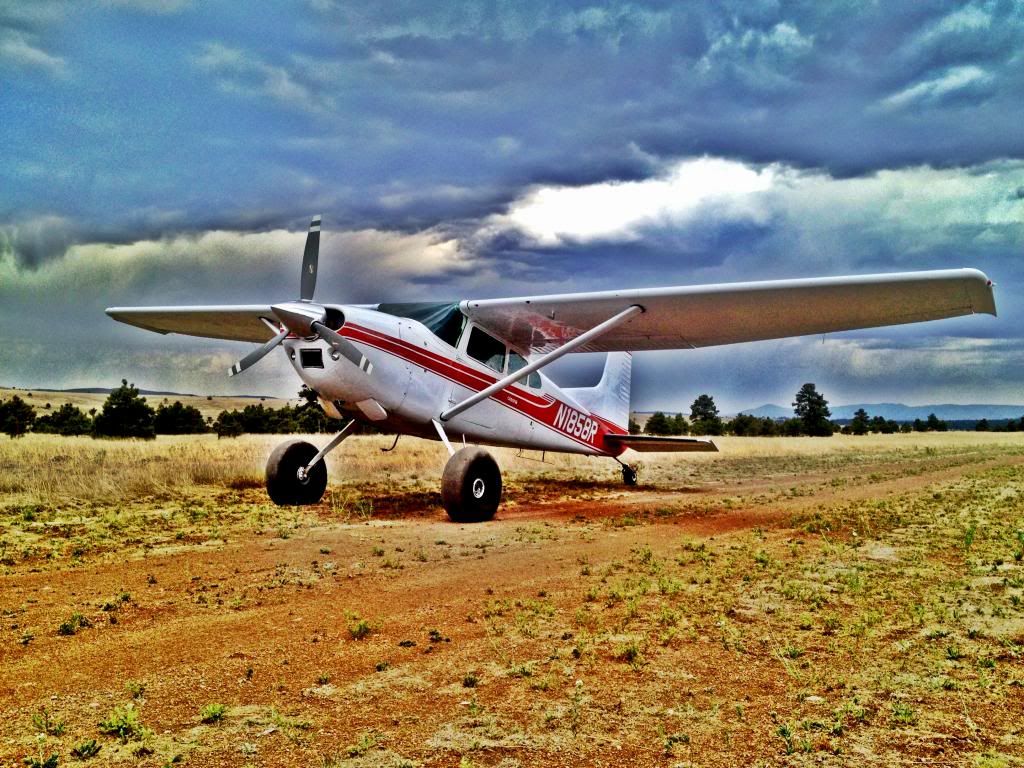
Starting from the beginning I bought this 185 last December. I was torn between a 180 and a 185 but on a 180 budget. I came across this aircraft with a ratty interior and with low compression/hightime engine but for the right price and I bit the bullet. I decided to go with a 185 because I travel alot between home and work/other home (KS to NM). Also I travel alot during work chasing other aircraft and crews often hauling multiple people or big parts and when I was 12 years old I used to fly my fathers 185 all over with him. This is when I began to understand what aviation was, so I have a history with the 185 and have always loved them.

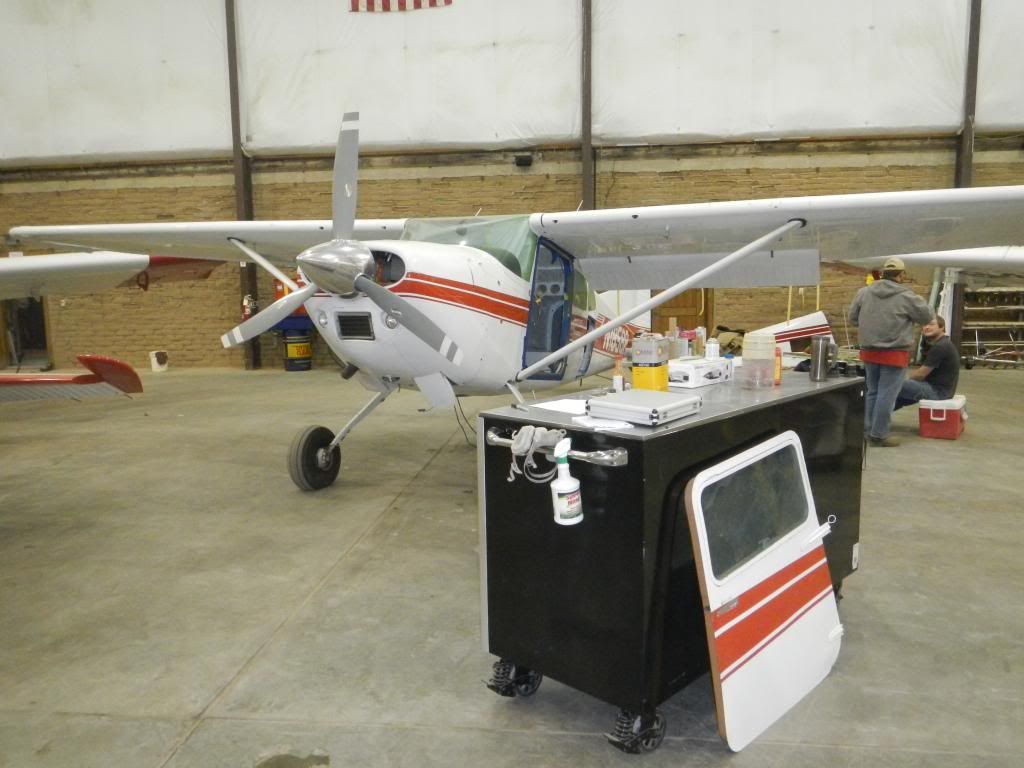
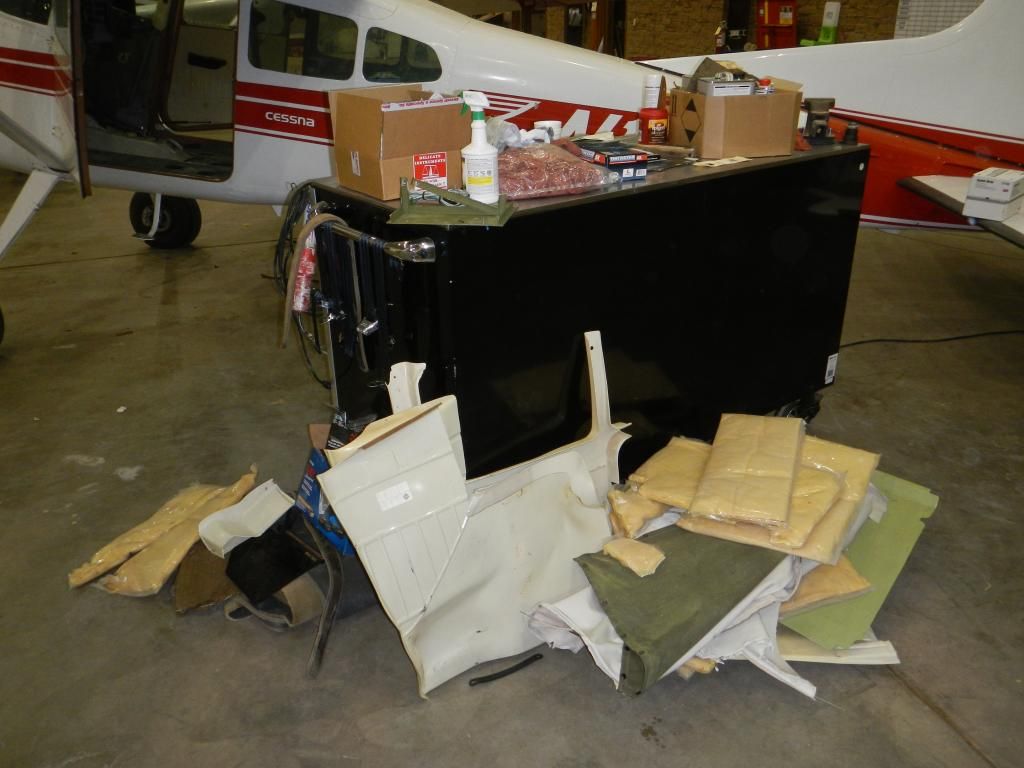
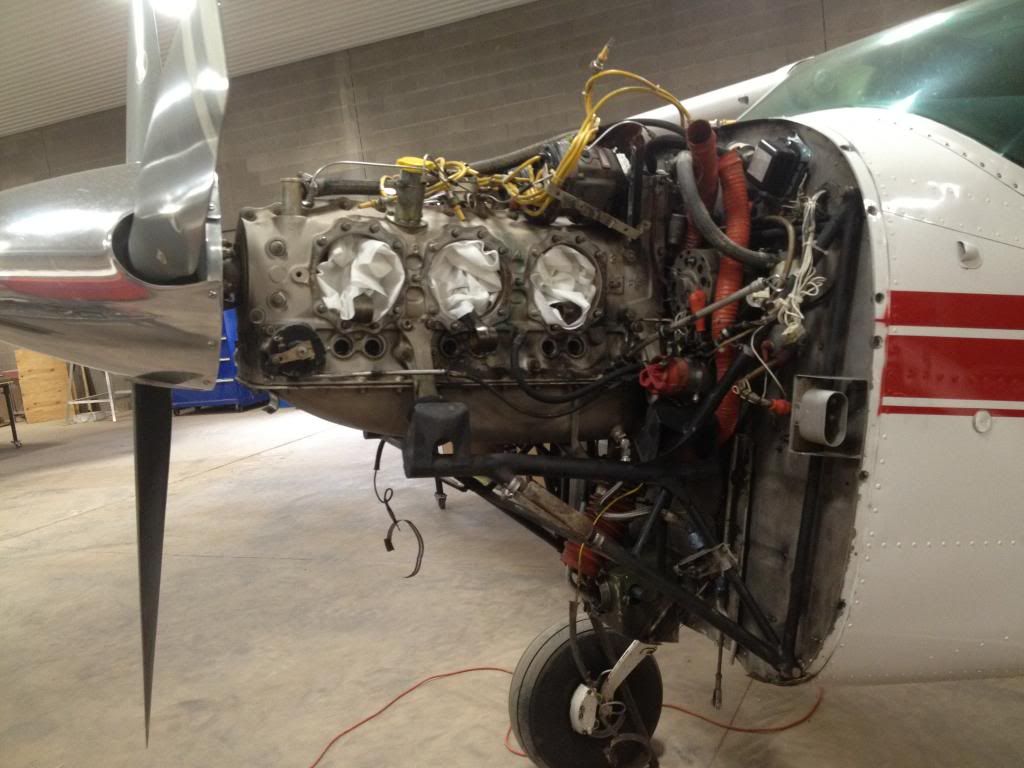
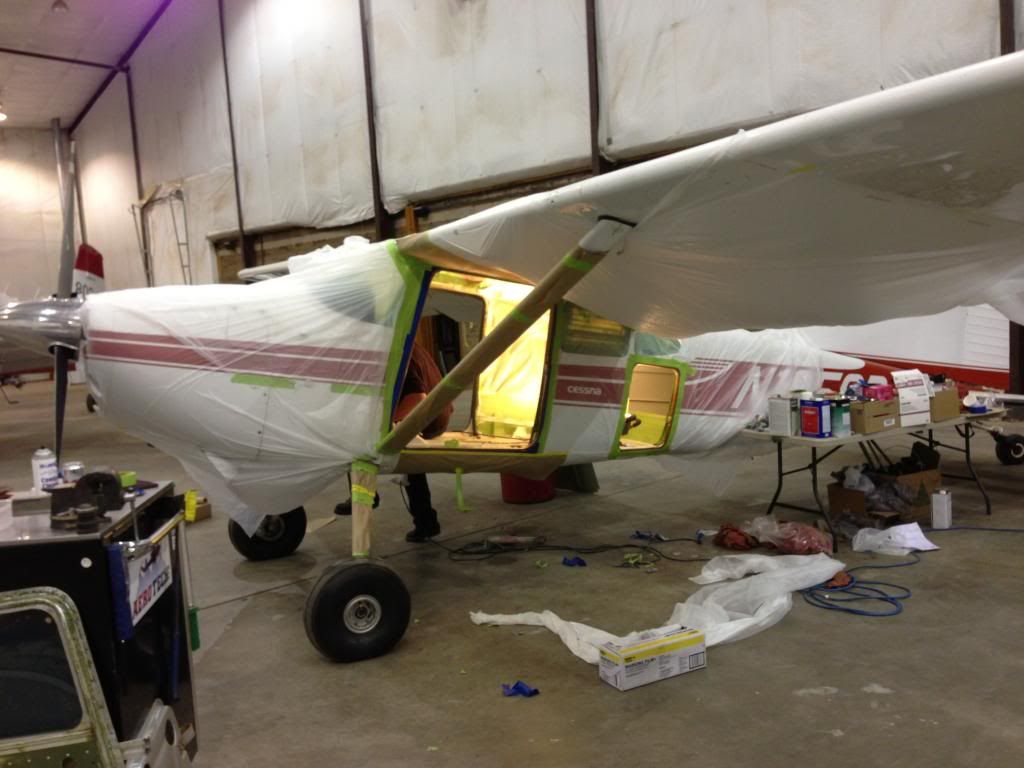
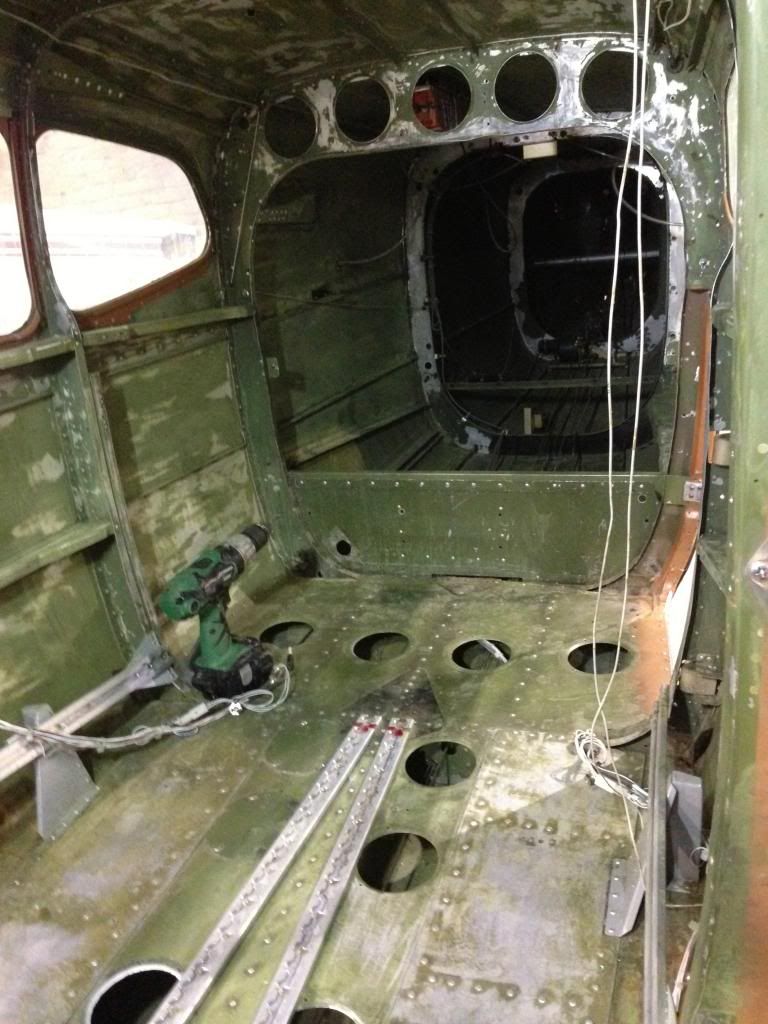
Back to the airplane, we got it home and did a top on the IO-520 and I flew her till annual in August. This is where it all began. During annual we did a firewall battery and atlee dodge seats, I figured if I have to re-upholster the back seats i might as well do the front. Then if your going to re-upholster you might as well take that ratty plastic/carpet/orange paint interior out and make it nice like bigrennas 170. Two weeks later if found my self in a daze of sanding, MEK, glue, paint, wiring, and etc. I wanted to start this thread earlier but I've been too tired every night. This project is being completed after work and full day weekends and has been going on for two weeks as of yesterday with a good deal of help from a friend. I pretty well figured out that I can take my daily/nightly goals, cut them in half, then I will know what I will can done.

Here is what I plan on this phase

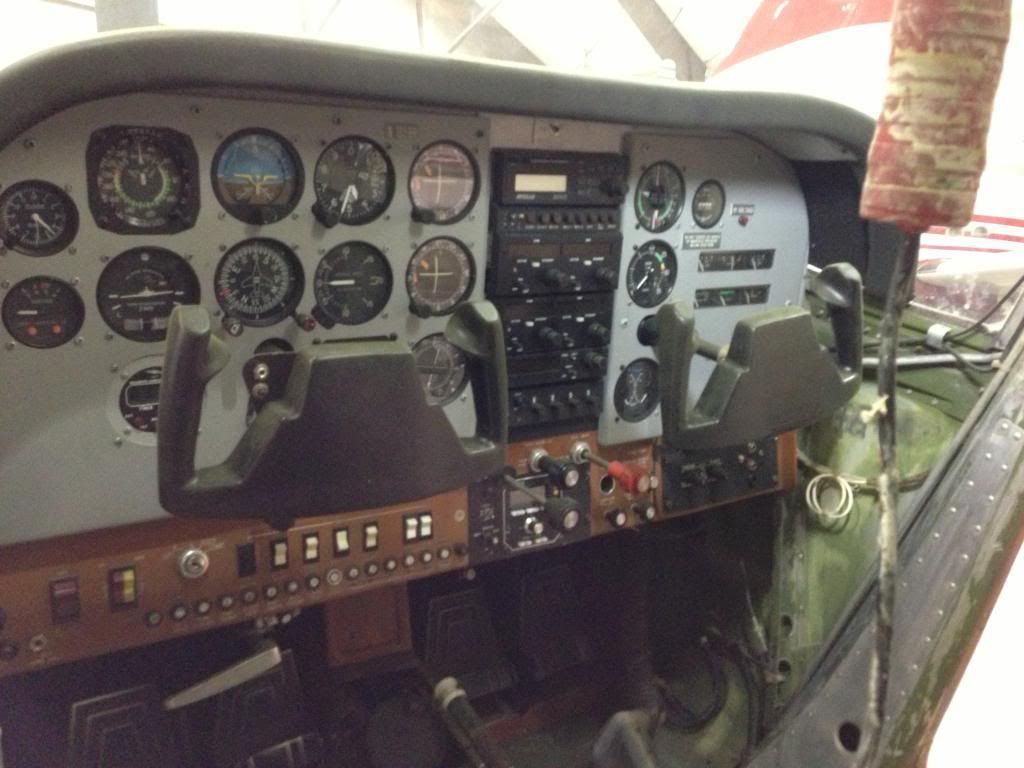
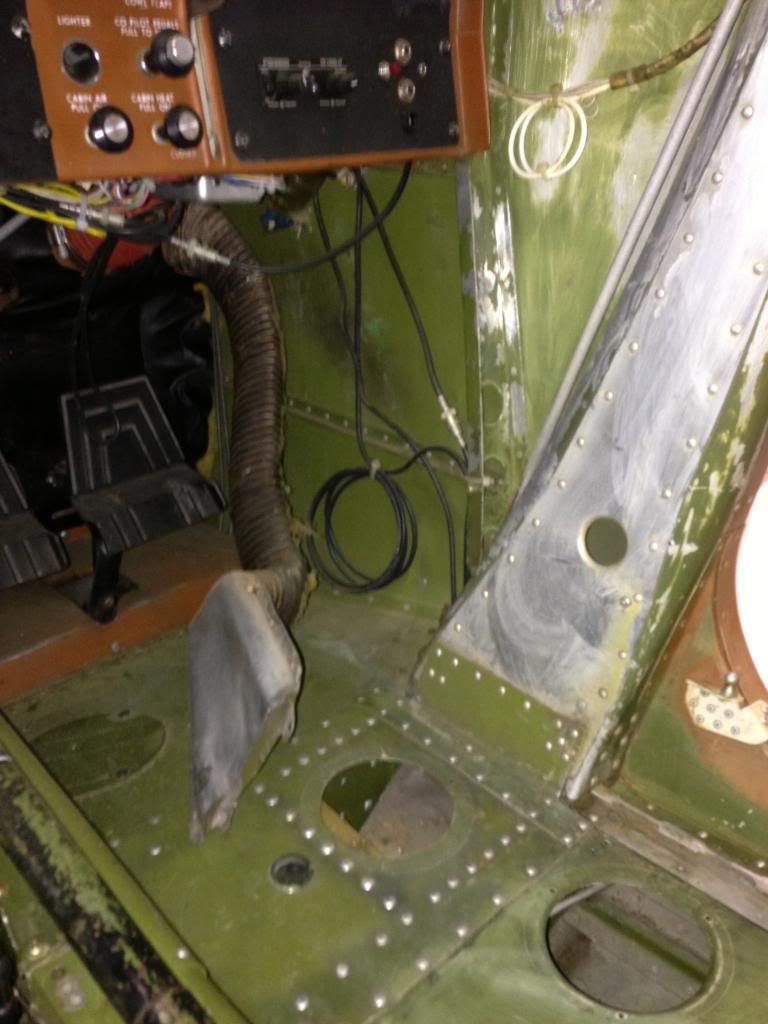
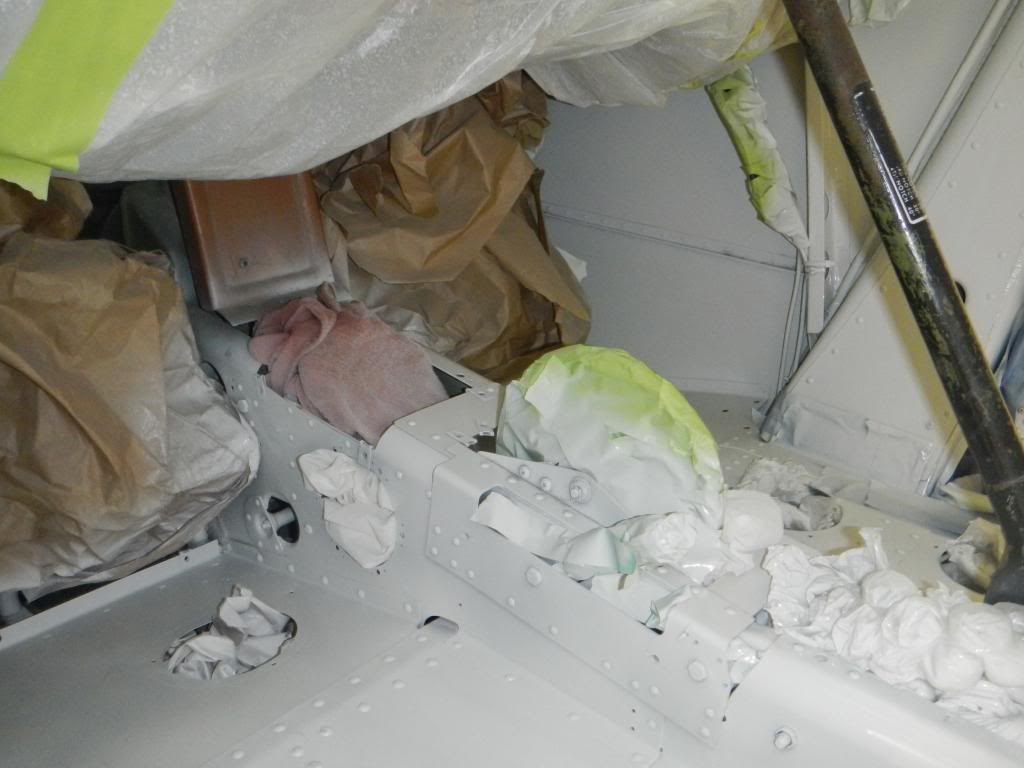
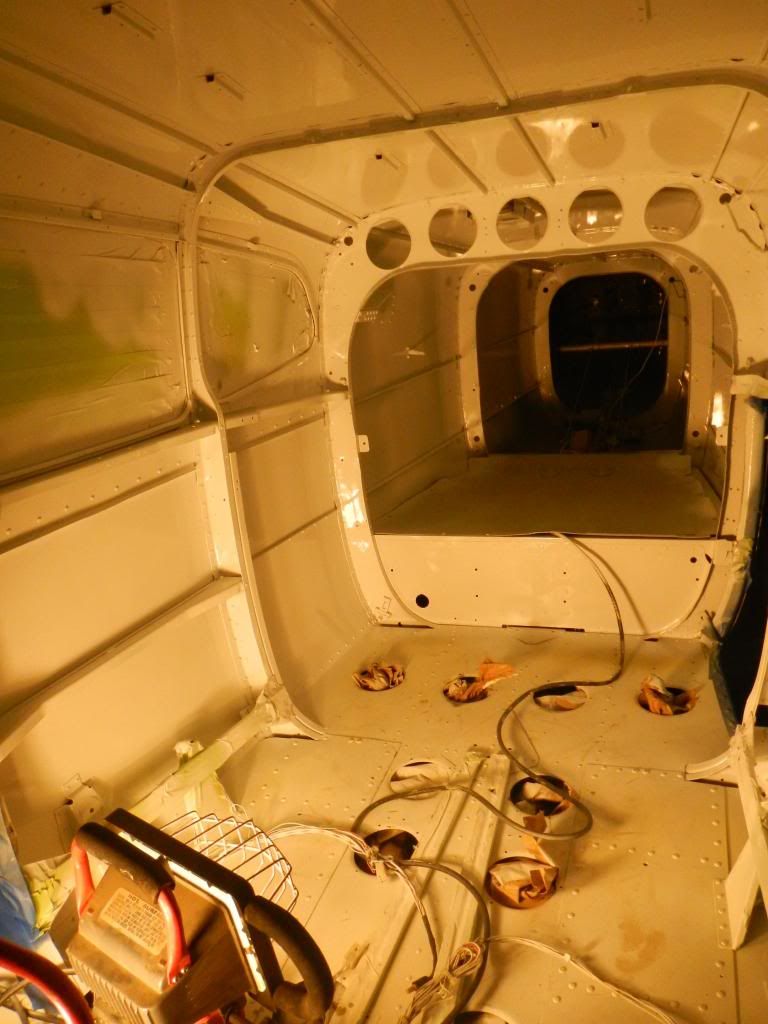
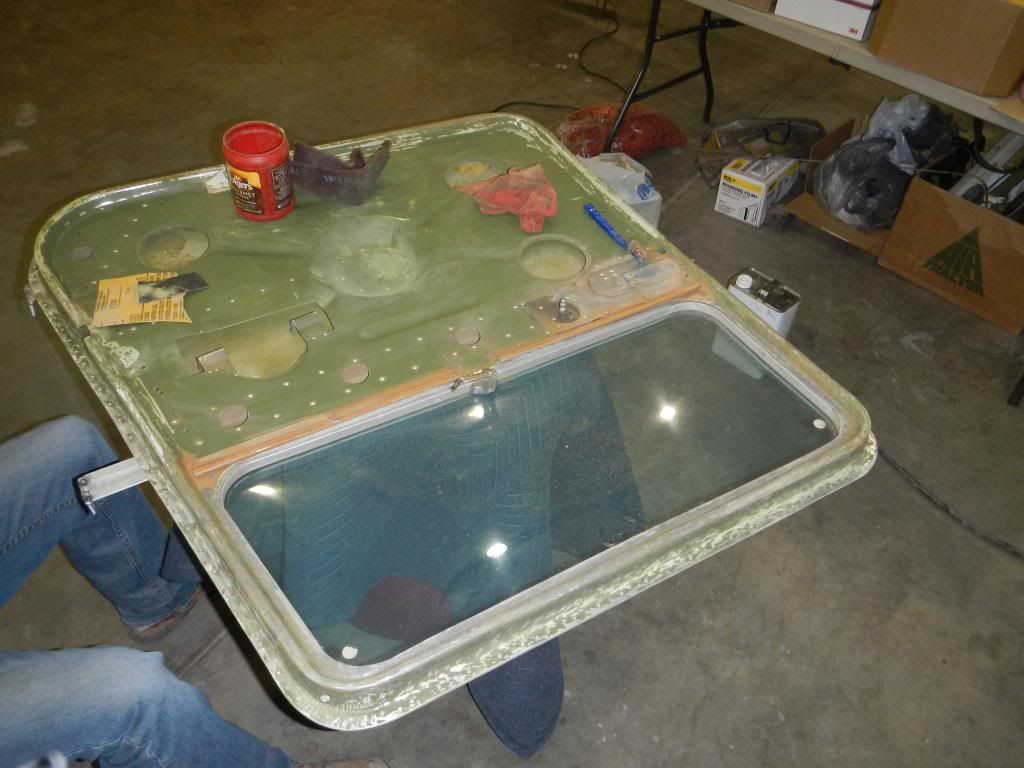
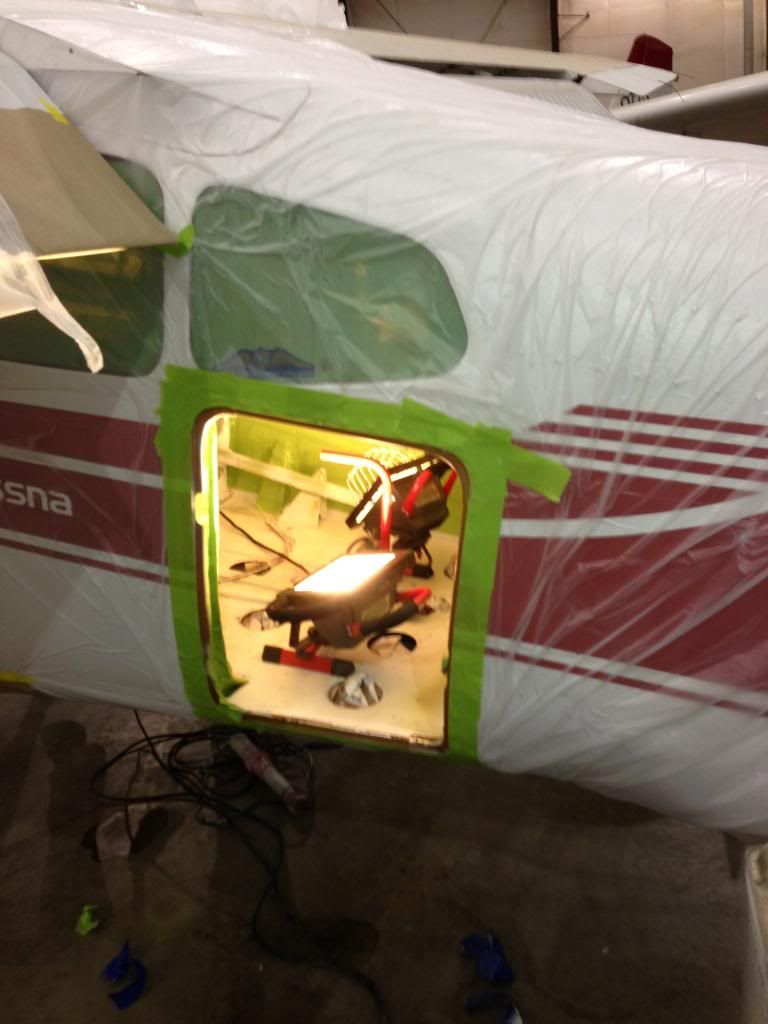
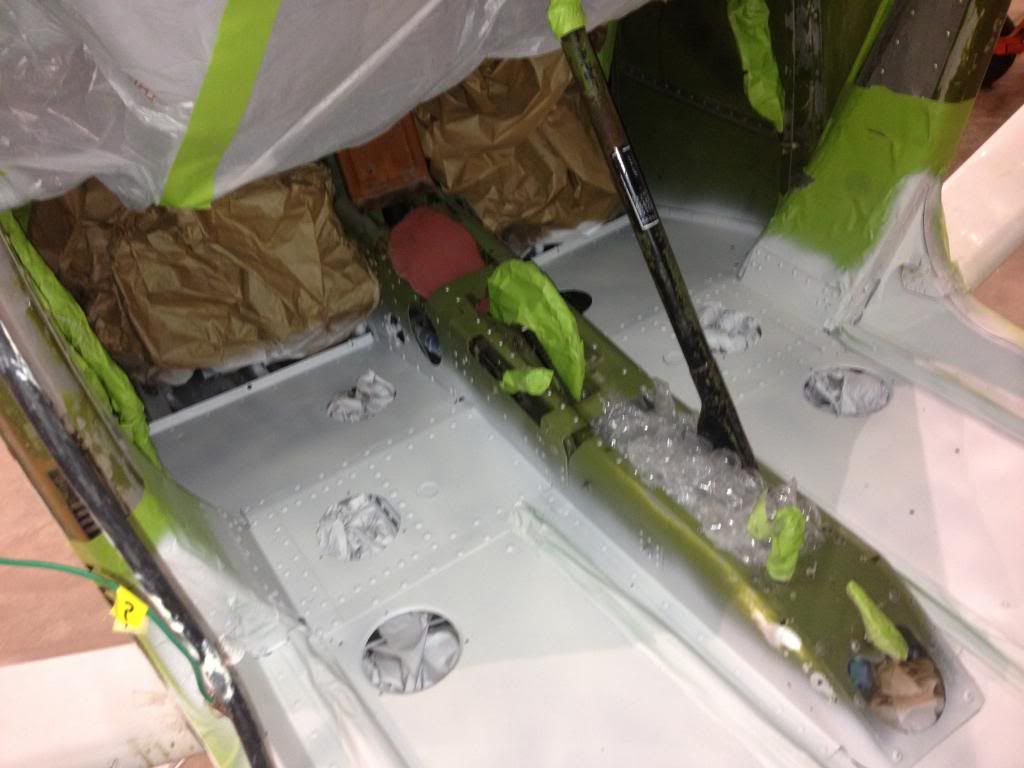
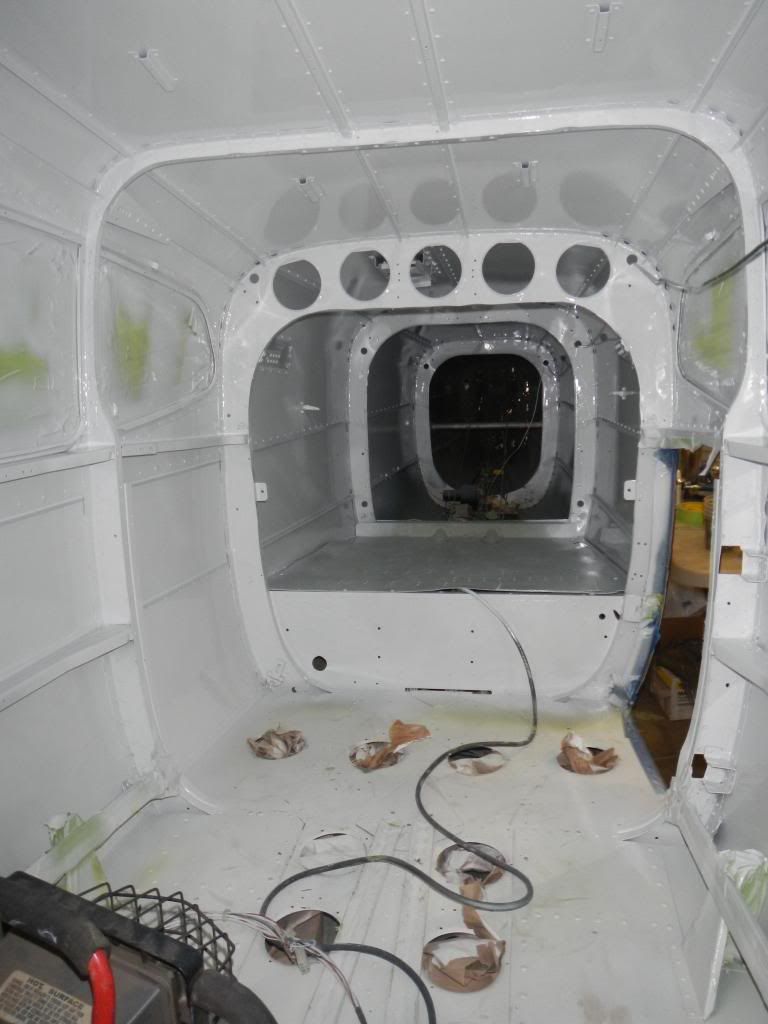
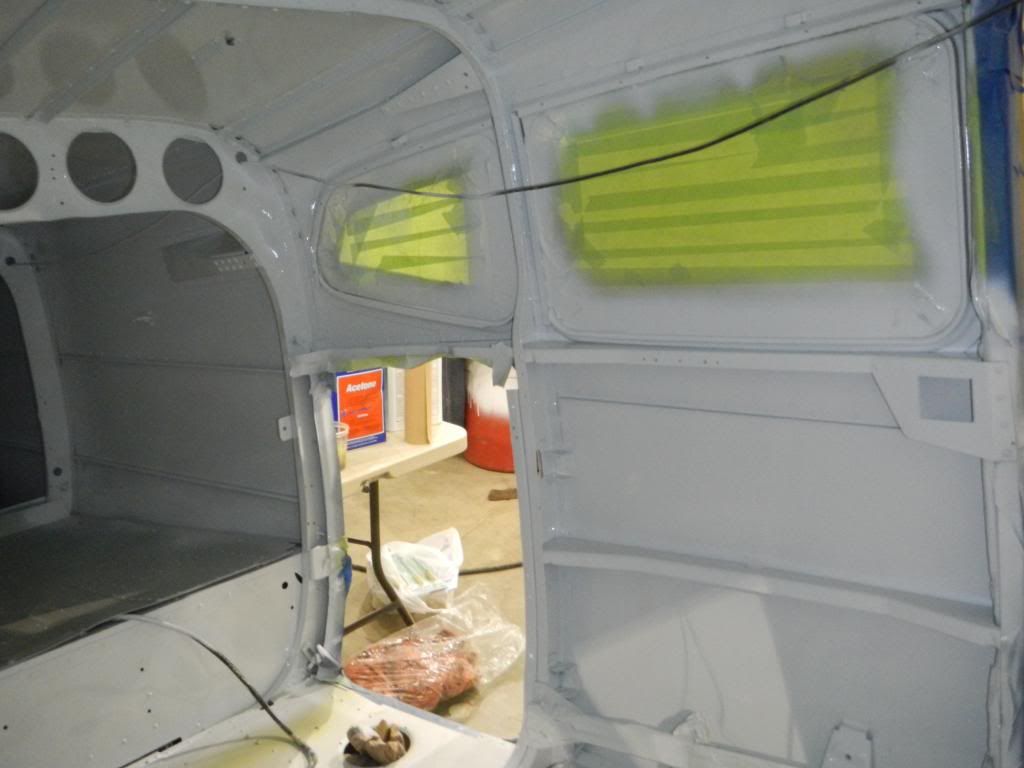
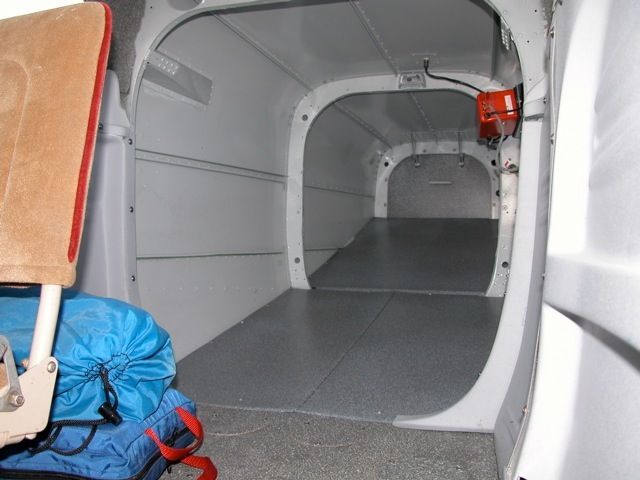
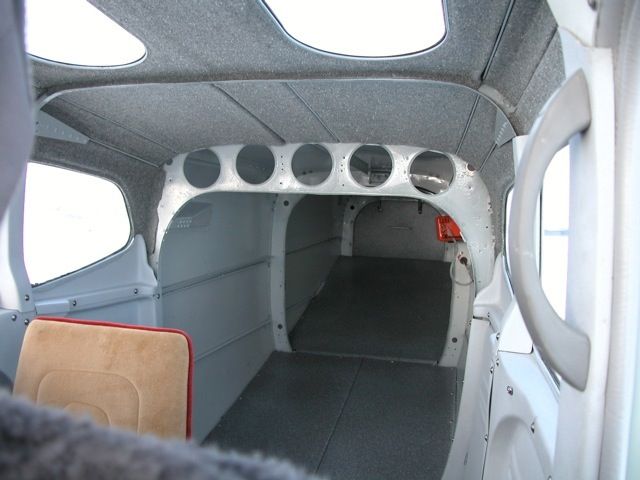
Strip old plastic, headliner, carpet, ADF and associated wiring, marker beacon, unused wiring, and avionics trays/brackets. (DONE)

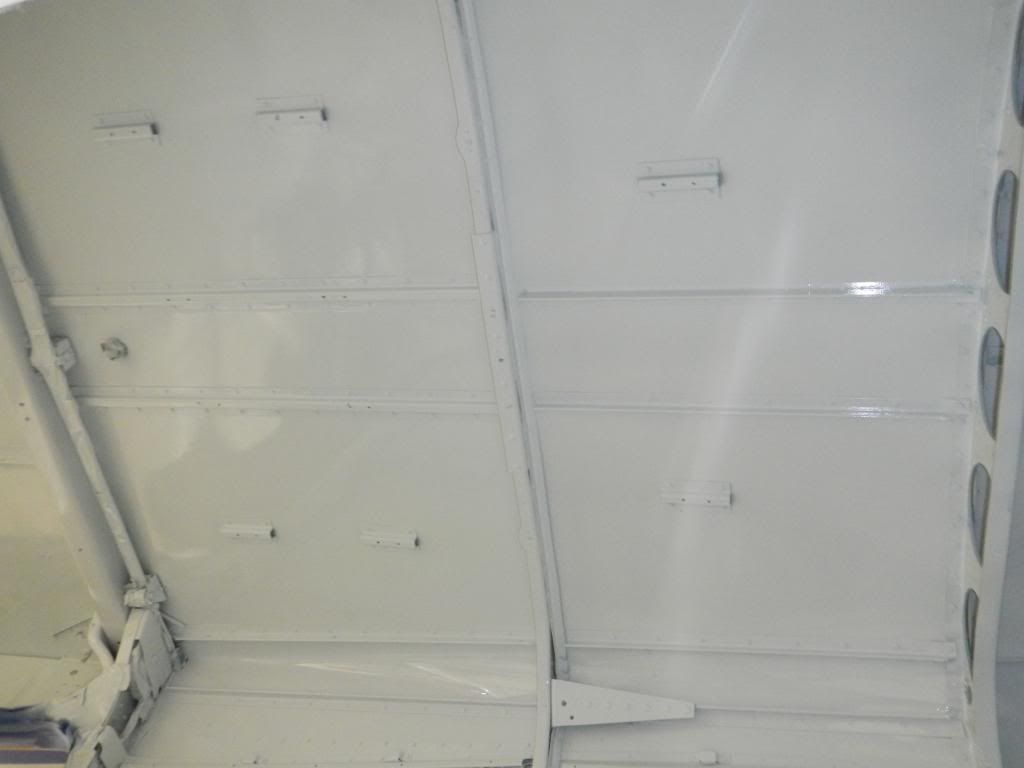
Repaint interior white (DONE)

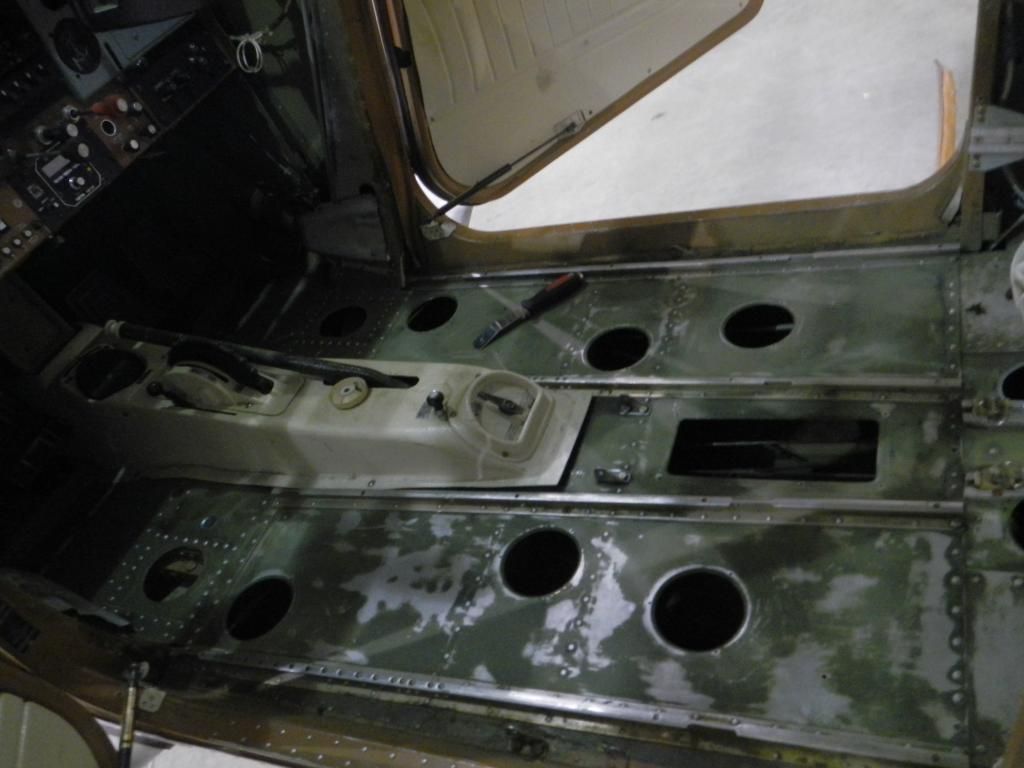
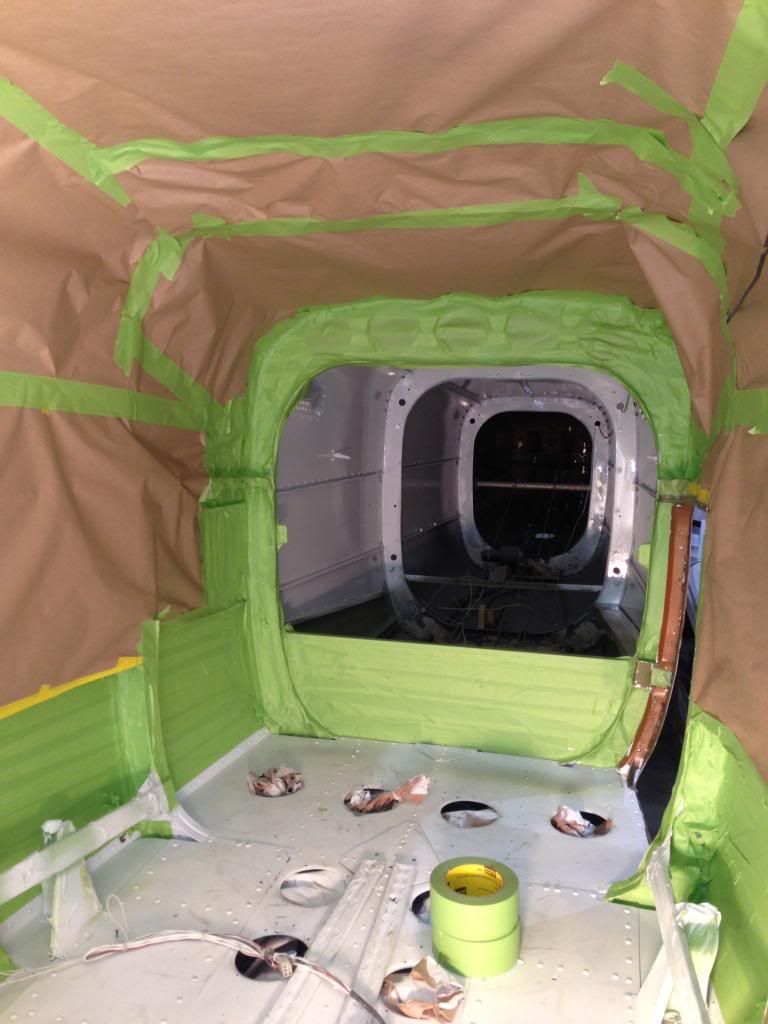
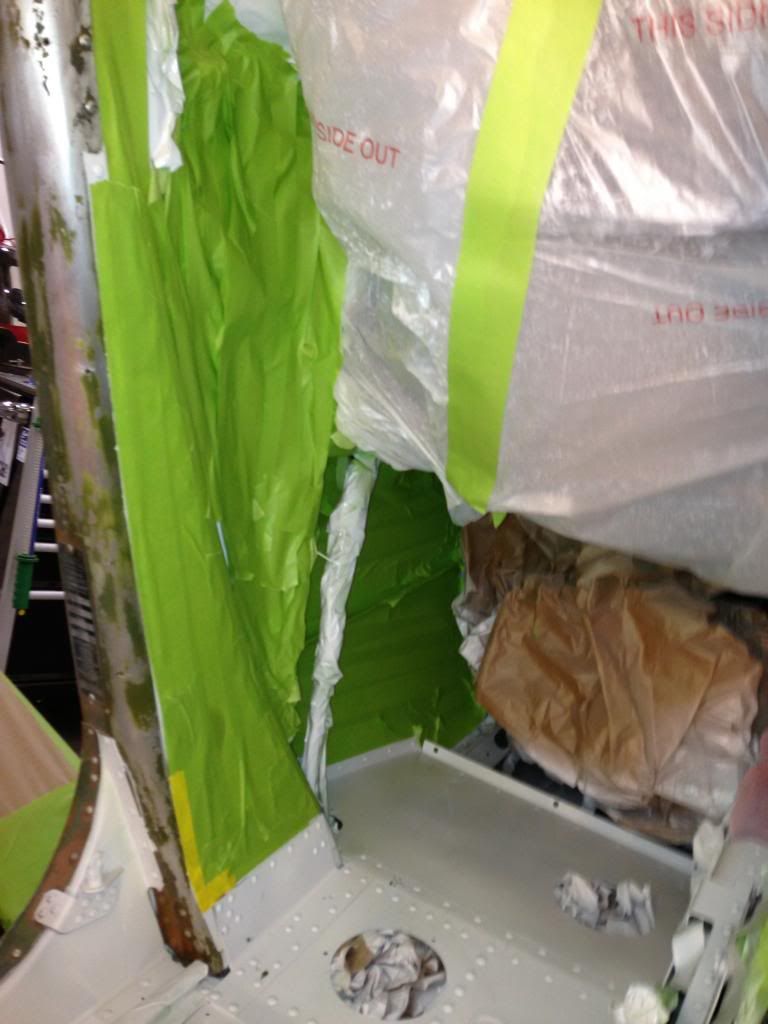
Paint floor and door jams with Zolatone AIM Desert Camo (wanted to do this first, got the floor primed but relized I had the wrong paint gun, should have this complete tomorrow or Thursdayr; should I cut that goal in half? Who knows?)

Install Selkirk Rubber insulation (1/4" on room, 1/2" sides. Decided to go with 1/2" on sides for better noise reduction being that I will be hauling kiddos at a very young age)

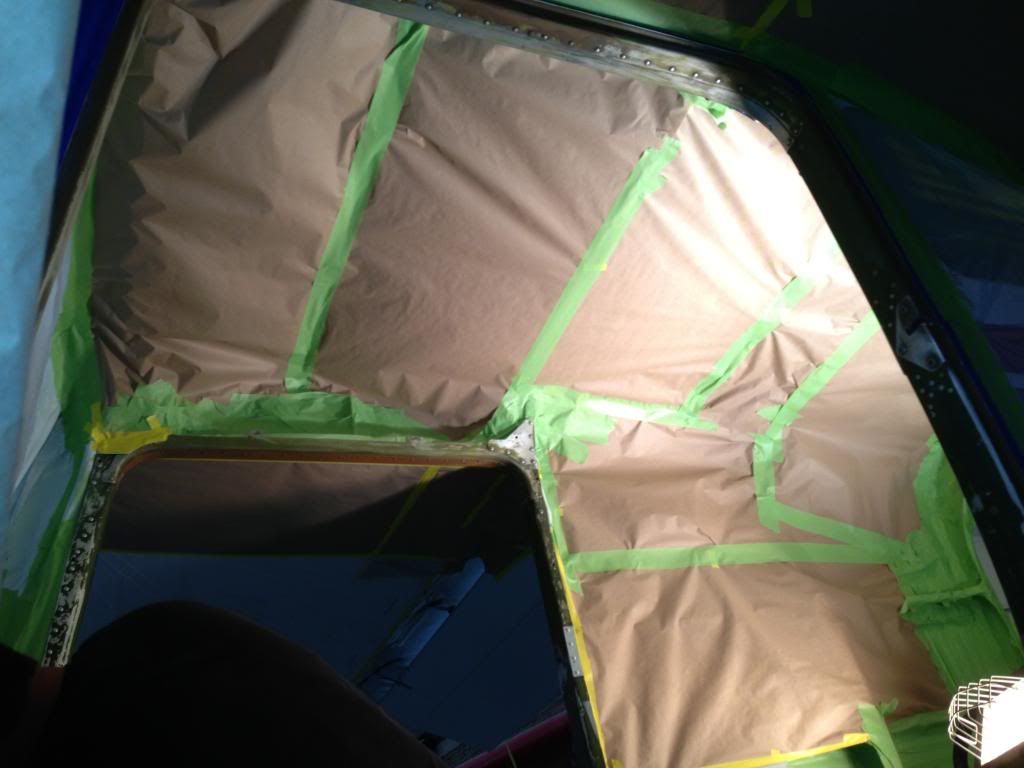
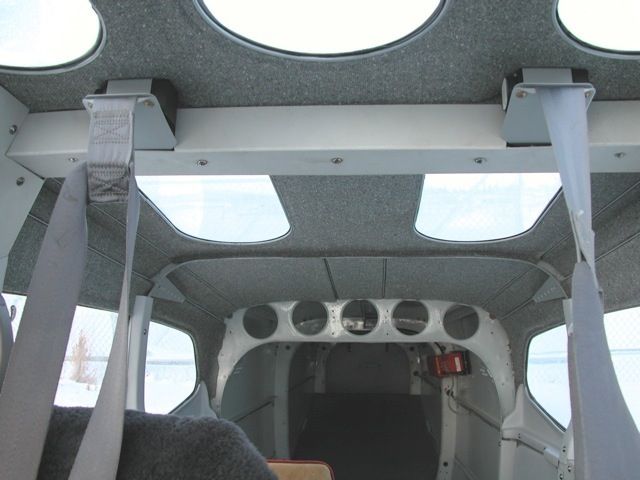
Cover roof insulation with some sort of headliner (see sample picture)

Install selkirk fiberglass (ivory white)

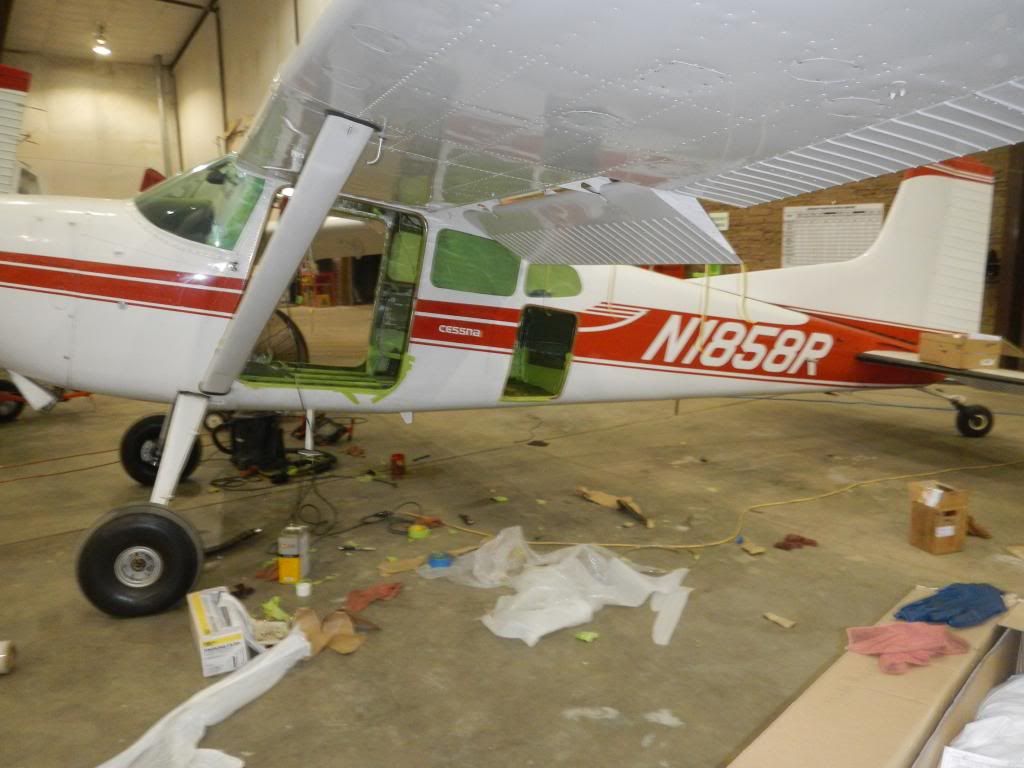
New windows, 4" bubble (january install)

LED dome lights (removed old Cessna dome light)

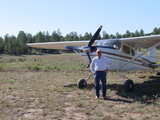
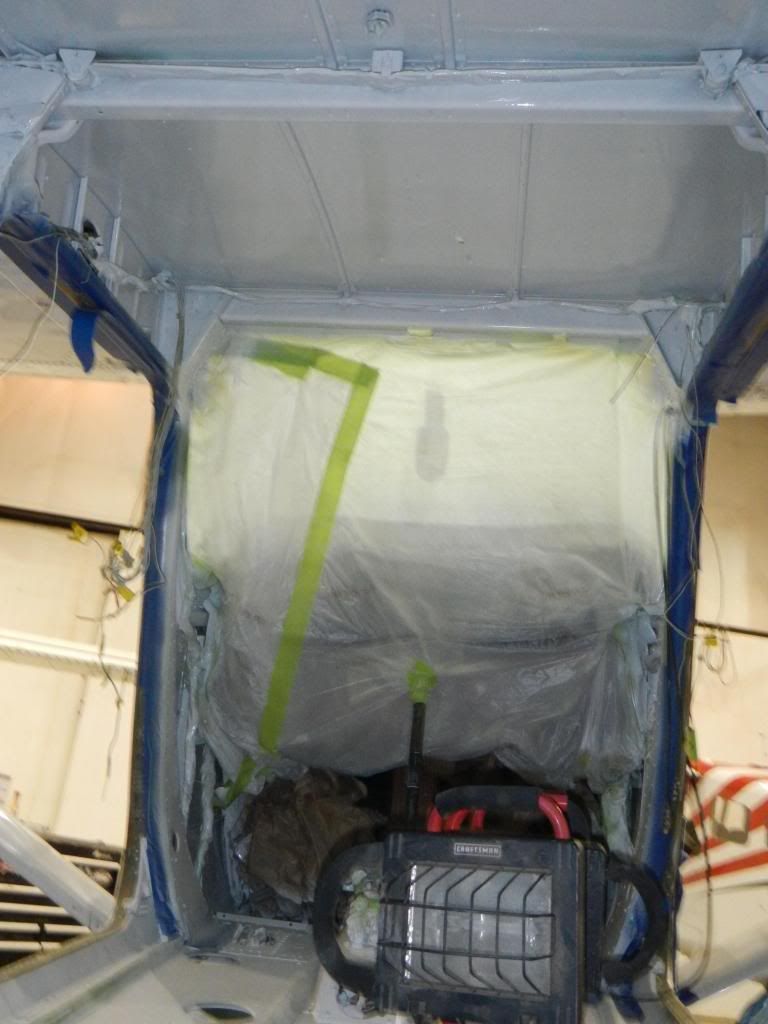
Extended Baggage (I am working on an approval for an "extended" extended baggage but its going to be tough, I have the paper work if anyone wants it, see sample picture)

Hopefully sportsman and WingX this fall (pocket book dependent) and MT/550 next year (gonna be timed out before too long)


I hope to have it in flying condition for a trip to Steamboat on the 28th. (Notice I said flying condition, not finished. This will be tough with the holidays)


Does anyone know of an interior plastic that can be formed in a break similar to what is over the spar on the the finished 185 sample picture?

I apologize if updates are slow over the holidays, thank you all for your support and info on previous threads. I forgot to take pictures in the beginning stages but I will try to get some weights of what I pulled out.
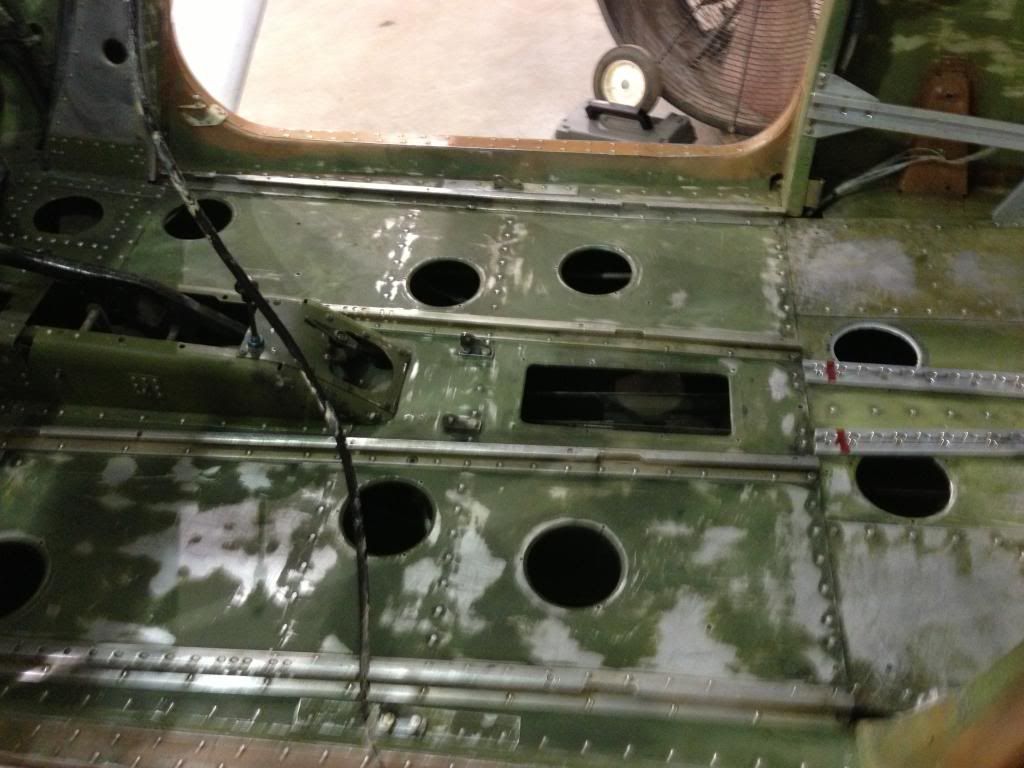
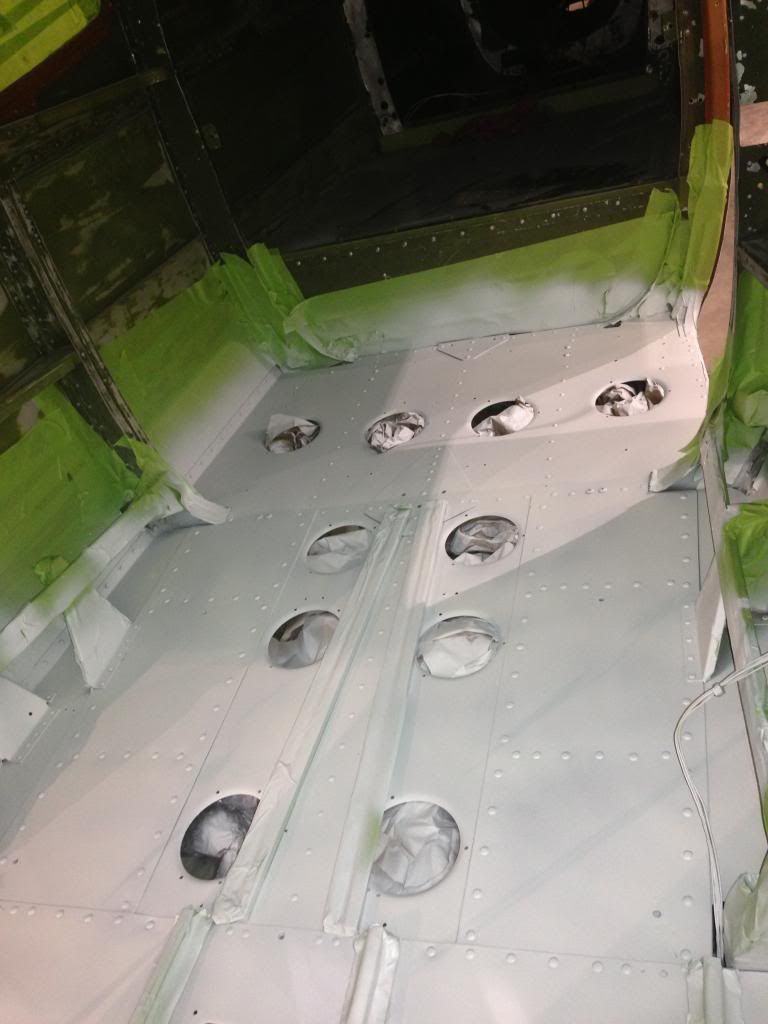
Image

Image

Image

Image

Image

Image
floor primed

Image

Image
This area was extreemly hard to paint right

Image

Image

Image

Image

Image
Formable plastic for this?

Image
My Baggage Goal

Image
Kinda how I want to do my headliner, its just insulation wrapped in a fabric.

Image
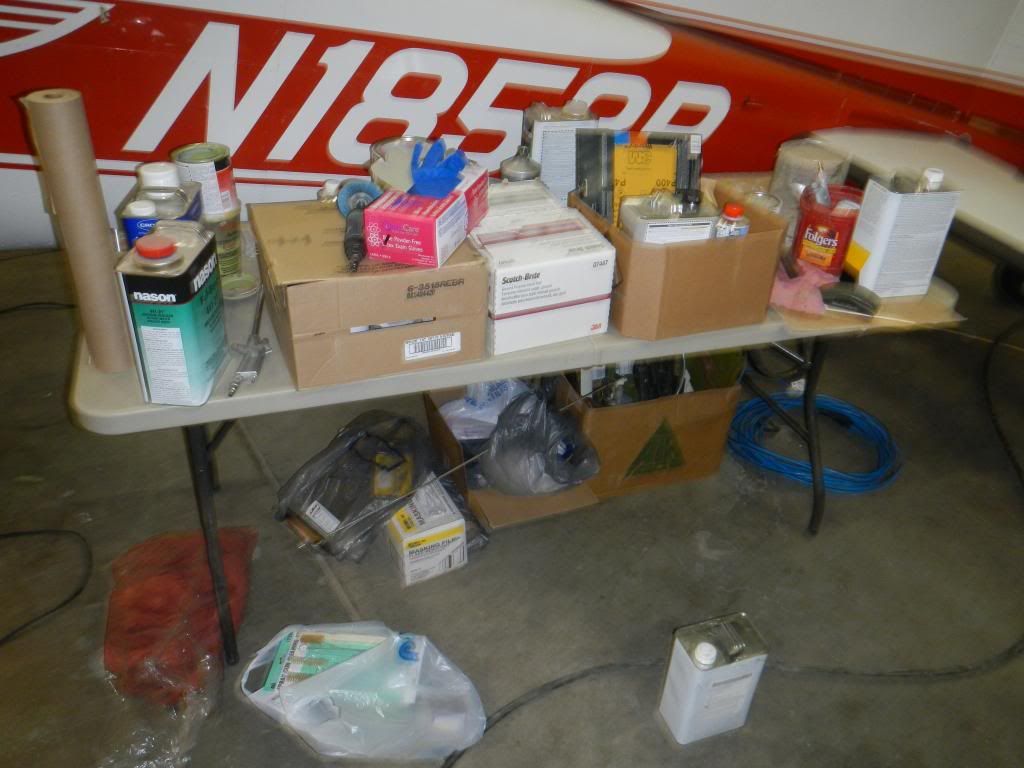
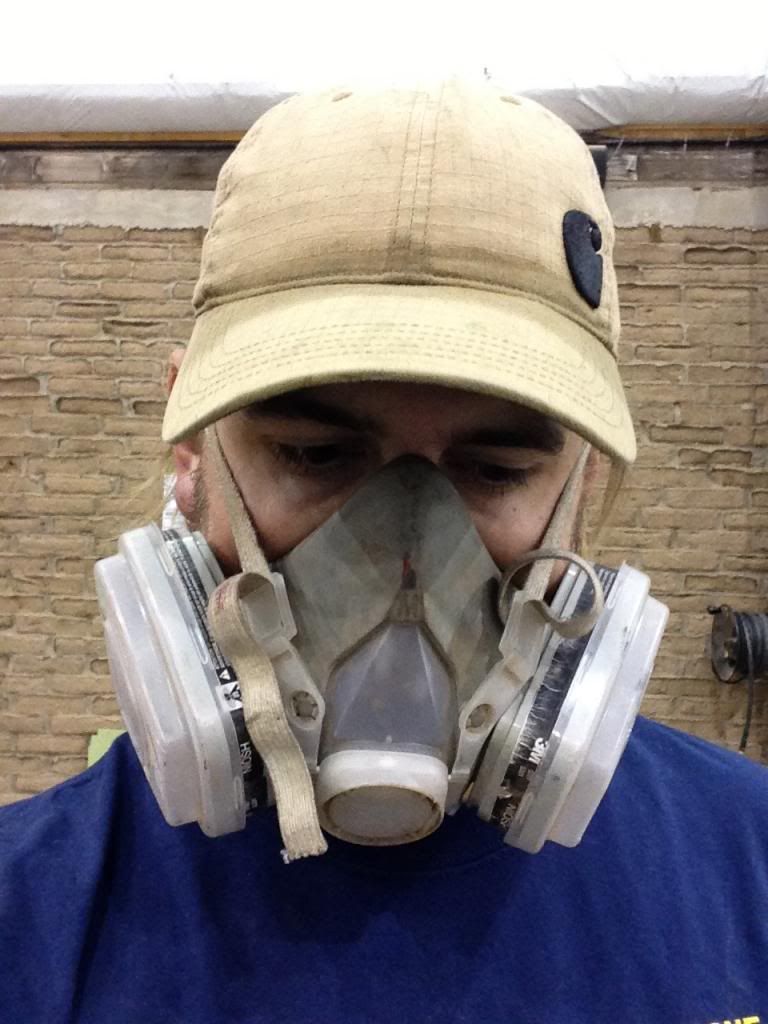
Before starting a aircraft painting project make sure you have a way to relieve stress.
Last edited by Cambo on Tue Dec 11, 2012 7:19 pm, edited 2 times in total.
Cambo offline
User avatar
Posts: 47
Joined: Sat Oct 29, 2011 2:32 pm
Location: Clovis NM, Manhattan KS, Seldovia AK

Re: My 185 Project

Good deal! Glad to see so many of us "crazies" out there. More pics please!!!

Greg-
Bigrenna offline
KB and Supporter
User avatar
Posts: 2339
Joined: Sun Sep 25, 2011 4:02 pm
Location: New England
Aircraft: C180H / C170B
www.bushwagoneast.com
www.avthreads.com

Re: My 185 Project

Cambo wrote:
Does anyone know of an interior plastic that can be formed in a break similar to what is over the spar on the the finished 185 sample picture?


Maybe Kydex would work for you. Mike Skup has done some pretty neat stuff with it, and based on what he's accomplished I think it might work for your needs. Check out his posts on supercub.org. He goes by mcsmike on that site.
PA12_Pilot offline
User avatar
Posts: 236
Joined: Wed Dec 22, 2004 2:29 pm
Location: Knoxville

Re: My 185 Project

Nice work. You and bigrenna make me want to go rip the interior out of my 170.
robw56 offline
User avatar
Posts: 3263
Joined: Thu Jan 18, 2007 9:30 pm
Location: Ward
Aircraft: 1957 C-180A

Re: My 185 Project

Go for it Rob! Dont hesitate.... You will be sooo amazed at the weight savings. And all the nonsense about the noise is not true. Not that loud w/ no interior!
Bigrenna offline
KB and Supporter
User avatar
Posts: 2339
Joined: Sun Sep 25, 2011 4:02 pm
Location: New England
Aircraft: C180H / C170B
www.bushwagoneast.com
www.avthreads.com

Re: My 185 Project

Awesome! Very well done. =D>
mountainmatt offline
User avatar
Posts: 2803
Joined: Sat Apr 11, 2009 2:43 pm
Location: Colorful Colorado
FlyingPoochProductions
FlyColorado.org

Re: My 185 Project

More Pics
Image
ImageImage
Image
Image
Image
Image
Image
Doors arn't quite done yet..........
Image
My dog huey decided he was sick of this project last week.
Image
Image
Some stuff that was removed.
Image
My Old Mans Beaver.
Image
I highly suggest a fan and a respirator.
Image
Toping her.
Image
The day I brought her home, just east of ABQ.
Last edited by Cambo on Tue Dec 11, 2012 8:23 pm, edited 1 time in total.
Cambo offline
User avatar
Posts: 47
Joined: Sat Oct 29, 2011 2:32 pm
Location: Clovis NM, Manhattan KS, Seldovia AK

Re: My 185 Project

Got any more pics of that Beaver :?:
robw56 offline
User avatar
Posts: 3263
Joined: Thu Jan 18, 2007 9:30 pm
Location: Ward
Aircraft: 1957 C-180A

Re: My 185 Project

Funny. I've admired that Beaver in Seldovia many times last summer. Pics are good, but you should see that thing in person. Sweet.
Last edited by Squash on Tue Dec 11, 2012 11:06 pm, edited 1 time in total.
Squash offline
Supporter
Posts: 605
Joined: Sat Nov 24, 2012 12:46 pm
Location: Alaska

Re: My 185 Project

robw56 wrote:Got any more pics of that Beaver :?:

Image
Image
Image
Image
Image
Cambo offline
User avatar
Posts: 47
Joined: Sat Oct 29, 2011 2:32 pm
Location: Clovis NM, Manhattan KS, Seldovia AK

Re: My 185 Project

Wow awesome project, I am subscribed.
BigNickMontana offline
User avatar
Posts: 114
Joined: Tue Nov 13, 2012 4:28 am
Location: Livingston

Re: My 185 Project

Cambo wrote:Image
My Old Mans Beaver.
Image
...


Dude, seriously.... You're gonna show a Turbo Beaver on 35's, an 802, 407, and 185 all in the same hangar and expect anyone to even notice what color your painting the interior... :lol: :shock: :lol:

That' be like asking what color flip flops the topless girl,... Oh never mind :lol:
Rob offline
Supporter
User avatar
Posts: 1569
Joined: Sat Mar 11, 2006 10:34 am

Re: My 185 Project

Cambo:

Great pictures, thanks for posting. Keep them coming.

Sounds like you are in NM quite a bit. If you are in E98 area, let me know. I live there and would love to see the results up close. Have aspirations on doing my 59 some day.

One of the pictures looks a little like Negrito?

Thanks again, Larry
88H offline
User avatar
Posts: 312
Joined: Sun Jan 11, 2009 7:28 am
Location: Los Lunas, NM

Re: My 185 Project

Kydex for interiors.

Looks good. It's amazing how much junk you can haul out of one of these old airplanes that really isn't doing anything.

MTV
mtv offline
Knowledge Base Author
User avatar
Posts: 10515
Joined: Sat Feb 25, 2006 1:47 am
Location: Bozeman

Re: My 185 Project

Great looking interiors.

I have seen the fabric wrapped foam on a 180 up north. That one used wool , and even went as far as to fill the bulkheads with appropriate foam to flush out both sides. Then he wrapped the bulkheads, prior to installing the skin fabric.

A question / thought for you guys doing the light weight (no side panel) interiors on later skywagons.

What thought are you giving to the rear door post where the control cables run? Left open, an errant fishing rod tip, tent stake, or child's colored pencil is about all it's going to take to make for a potentially bad day... Please cover it with something, and most certainly if you are hauling young ones.

Two super easy solutions come to mind... You can form Kydex super easy and fab your own cover. This will work great if you are using Kydex elsewhere.

Or you can call around the skywagon / Cessna salvage yards and find the cover from an early plane. They are formed sheet aluminum and weigh next to nothing. Although I didn't go for the no-interior make over on mine, I kept my original metal covers, because whenever I get around to redoing my interior I may go this way.

Take care, Rob
Rob offline
Supporter
User avatar
Posts: 1569
Joined: Sat Mar 11, 2006 10:34 am

Re: My 185 Project

I like that extended baggage too. I have a 1965 C-180H and would like to do the same. Where could I find more information on that installation?

Pat
cublite offline
Posts: 47
Joined: Fri Feb 02, 2007 6:49 pm
Location: Bucyrus, Kansas

Re: My 185 Project

cublite wrote:I like that extended baggage too. I have a 1965 C-180H and would like to do the same. Where could I find more information on that installation?

It was done on a 337 in Alaska, I've got a copy of the paper work if you want it. PM me your email address

Pat
Cambo offline
User avatar
Posts: 47
Joined: Sat Oct 29, 2011 2:32 pm
Location: Clovis NM, Manhattan KS, Seldovia AK

Re: My 185 Project

88H wrote:Cambo:

Great pictures, thanks for posting. Keep them coming.

Sounds like you are in NM quite a bit. If you are in E98 area, let me know. I live there and would love to see the results up close. Have aspirations on doing my 59 some day.

One of the pictures looks a little like Negrito?

Thanks again, Larry


Thats awfully observant of you, that is Negrito. I let Eugene do my annual this year because we were too busy. Plus he used to be a partner in my airplane at one point. Stop by and visit any time NM42.
Cambo offline
User avatar
Posts: 47
Joined: Sat Oct 29, 2011 2:32 pm
Location: Clovis NM, Manhattan KS, Seldovia AK

Re: My 185 Project

Cambo:

Will stop by if I get a chance, although I don't spend much time on the east side.

If you have time next fall (usually last wkd in September) consider dropping into Negrito for the flyin we have there. Had about 35 planes and 45 folks this year. NMpilots.org will have info.

Thanks for the project reports, Larry
88H offline
User avatar
Posts: 312
Joined: Sun Jan 11, 2009 7:28 am
Location: Los Lunas, NM

Re: My 185 Project

After a long day on Thursday me and a friend decided to switch gears on the project and develop a high performance light weight paper headliner/interior combo. After burn certs we abandoned the project.

I planned to paint my floor first to avoid masking off the entire interior but didn't end up with the right paint gun.

[Image

Image

Image

Image

Image

Image
Cambo offline
User avatar
Posts: 47
Joined: Sat Oct 29, 2011 2:32 pm
Location: Clovis NM, Manhattan KS, Seldovia AK

DISPLAY OPTIONS

Next
23 postsPage 1 of 21, 2

Who is online

Users browsing this forum: No registered users and 1 guest

Latest Features

Latest Knowledge Base